Crafting a money bouquet is a creative and personalized way to give a gift that is both visually appealing and practically useful. It's a step up from just handing over cash, adding a touch of artistry and thought. Think of it as gifting a future shopping spree or a contribution towards a memorable experience, all wrapped up in a delightful arrangement. This guide will walk you through the process of creating your own money bouquet, outlining the necessary materials and providing step-by-step instructions.
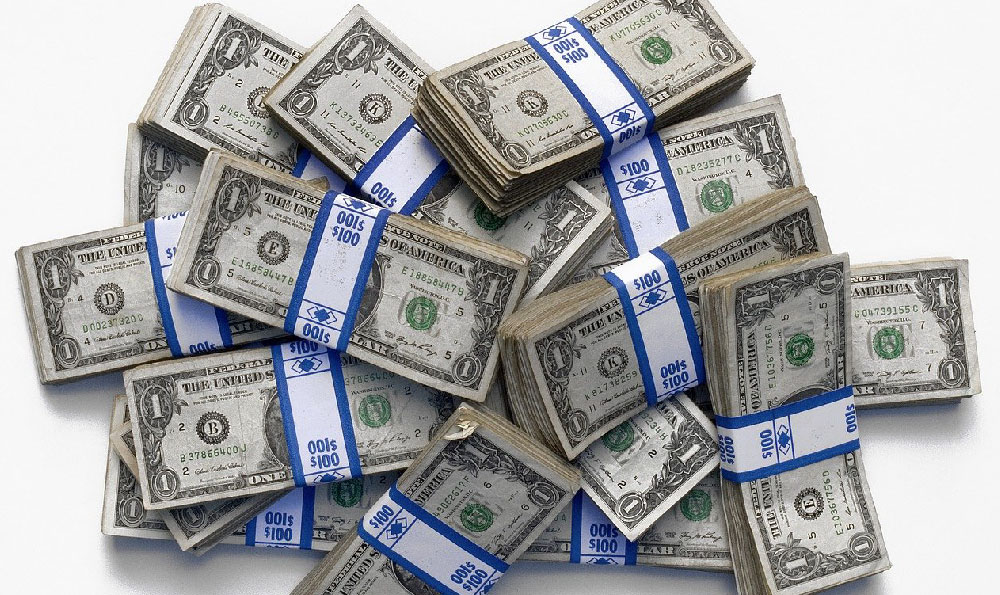
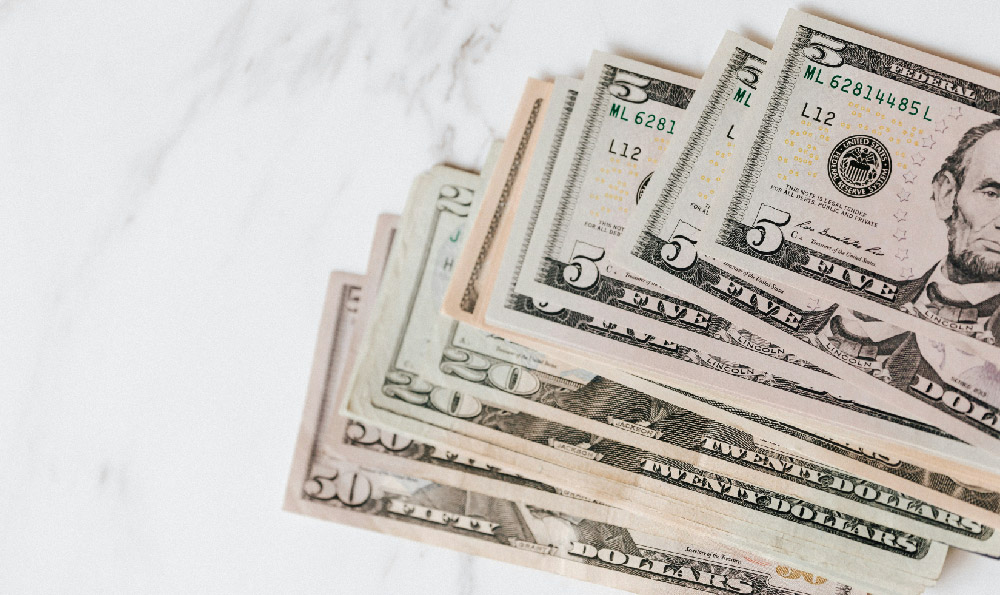
Let's start with gathering the essential components. The most obvious ingredient is, of course, money. The denomination and amount are entirely up to you and your budget. Consider the recipient and the occasion. Is it a small gesture or a significant contribution? New, crisp bills are preferable as they look neater and are easier to work with. It's also a good idea to have a mix of denominations to add visual interest and flexibility for the recipient.
Beyond the cash, you'll need the foundational elements of any bouquet: floral stems. These can be real or artificial. Artificial stems are reusable and can provide a more structured base, while real flowers can add a lovely fragrance and a natural touch. Baby's breath is a popular choice for filling in gaps and adding a delicate texture. You’ll also need a bouquet wrap, which acts as the “vase” for your creation. This can be tissue paper, cellophane wrap, fabric, or even decorative paper. The choice depends on the aesthetic you are aiming for. Complementary colors that make the money stand out are generally a good bet.

To secure the money and flowers, you'll need clear tape or glue dots. Clear tape is generally preferred as it's less likely to damage the bills and allows for easy removal later. Glue dots are a good alternative for more intricate designs. You'll also require floral wire or thin wooden skewers to provide support for the rolled or folded bills. These will act as the “stems” for your money flowers. Don't forget scissors for trimming stems, paper, and tape, and potentially a hot glue gun if you want to attach heavier decorations.
Optional embellishments can really elevate your money bouquet. Ribbons, bows, decorative picks (like butterflies, hearts, or stars), and even small trinkets related to the recipient's interests can be added to personalize the gift. Think about what the recipient enjoys and incorporate those elements into the design.
Now that you have your materials, let's move on to the crafting process. The first step is to prepare the money. There are several techniques you can use to transform the bills into decorative shapes. One popular method is the simple roll. Gently roll each bill around a thin wooden skewer or floral wire, securing it with a small piece of clear tape or a glue dot. Another option is to fold the bills into origami-like shapes. There are numerous online tutorials available for creating money origami flowers, butterflies, or other interesting designs. Choose a design that you feel comfortable with and that complements the overall aesthetic of the bouquet.
Once you have prepared your money "flowers," attach them to the floral stems. Use clear tape or glue dots to secure the money rolls or origami shapes to the tops of the stems. Ensure that the attachment is secure so that the money doesn't fall off. If you're using real flowers, arrange them around the money stems, keeping in mind the overall balance and color scheme. If you are using artificial flowers, arrange them strategically to complement the money.
Next comes the arrangement of the bouquet. Gather the stems together, starting with the tallest ones in the center and gradually adding shorter stems around the perimeter. This creates a rounded or conical shape. Adjust the placement of the money and flowers until you are satisfied with the overall arrangement. Secure the stems together at the base with floral tape or wire.
Now it's time to wrap the bouquet. Choose your desired bouquet wrap and carefully wrap it around the stems, starting from the bottom and working your way up. Overlap the edges of the wrap to create a secure and neat finish. Secure the wrap with tape or glue dots. You can also use ribbon to tie a bow around the base of the bouquet, adding a touch of elegance and securing the wrap further.
Finally, add any additional embellishments you desire. Attach ribbons, bows, decorative picks, or trinkets to the bouquet using glue dots or floral wire. Step back and assess your creation, making any final adjustments to ensure that it looks balanced and visually appealing.
A few final tips will help you create a truly stunning money bouquet. Consider the recipient's personality and preferences when choosing the colors, materials, and embellishments. A bright and cheerful bouquet might be perfect for a child, while a more sophisticated and elegant bouquet might be more appropriate for an adult. Practice makes perfect. If you're new to crafting money bouquets, start with a smaller and simpler design to get the hang of the techniques. Don't be afraid to experiment with different folding and rolling methods to find what works best for you. Take your time and enjoy the process. Creating a money bouquet is a labor of love, so relax and have fun with it.
When gifting the bouquet, consider adding a small card with a personalized message. This adds a personal touch and explains the thought behind the gift. For example, you could write, "I hope this bouquet helps you achieve your dreams!" or "May this money bring you joy and prosperity." A money bouquet is more than just a gift of cash; it's a symbol of your care, creativity, and well wishes. It's a unique and memorable present that is sure to be appreciated and remembered. So, gather your materials, unleash your creativity, and create a money bouquet that will brighten someone's day and contribute to their financial wellbeing, one beautifully arranged bill at a time.


